Five Ways To Improve Listening In Your Control Room
Control rooms? Hah! In today’s digital music production world control rooms are now situated in dining rooms, bedrooms, basements, attics and placed almost anywhere. Anywhere that is except in the dwindling number of actual professional recording studios clinging still to life!
Back in the day, the linearity of quality reference monitors successfully paired to proper control room acoustics was key to mixes that actually translated. That is, music mixes sounded pretty damn good wherever they were listened to. And so, folks often ask me what I think of the spectral balance in their control rooms and listening rooms. Everybody’s got their own unique tastes in regards to monitoring, power-amps, speaker wire, powered monitors, placements and the like. But here’s five suggestions I usually offer to improve listening conditions in any room.
1. Get off the wall!
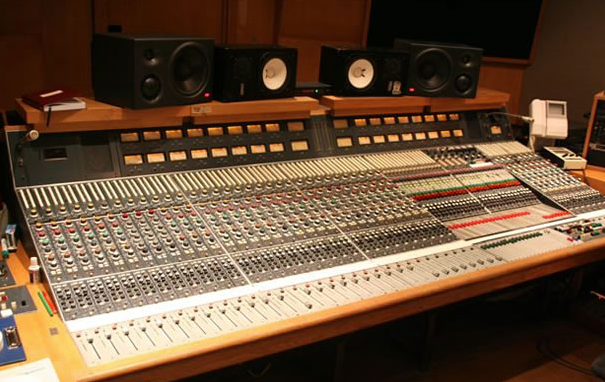
One of the most common listening pitfalls is to crowd the console and monitors into the front wall of a control room. And while bass-trapping is an important aspect of achieving a balanced listening room, pushing your monitor speakers right up against a wall is a sure fire recipe for non-linearity. That wall or window is actually a bass trap of sorts. That is, it will resonate at a given frequency and remove that frequency at your listening position. And whatever sonic frequency peak that a given wall absorbs and thereby removes, the neighbor low frequencies will likely be boosted. The low end is then non linear.
 Worse yet, when you shove those monitors into corners, frequency loading will really throw things askew. That’s called corner loading. Instead, move your monitors and listening position off the front wall a bit. I like to be able to walk behind the workstation or console and near-fields which is also helpful when patching, or doing maintenance. Generally, the closer to the center of the room you sit, the better chance you’ll have of actually hearing the lowest frequency your room can reproduce.
Five Ways To Improve Listening In Your Control Room
2. De-couple it!
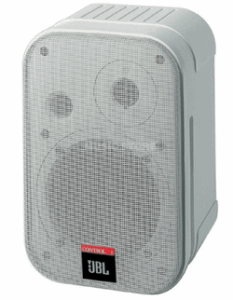
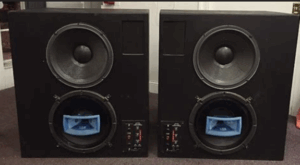
Speaker manufacturer’s go to great lengths to give their monitor speakers a given response curve. That’s the “sound” you’re paying for. But unlike your space, monitor speakers are designed in anechoic chambers without boundaries or reflective surfaces. So when you plop monitors down directly on speaker stands, console meter bridges and other solid surfaces, you throw that carefully honed response curve right out the control room window. Crank the music and then feel the surface the speakers are sitting on. If you feel vibration, that’s a sign your in non linear territory.
 Pliantly isolating, or de-coupling the monitors will help them sound as they should. And, you don’t have to spend big bucks on speaker decouplers sold at Snootwater or Banjo Mart either. Sleeping bag pads, gardener’s kneeling pads, Sorbothene pucks, and other spongy neoprene materials will do the trick in a pinch. Visit the nearby the home center. You can affordably de-couple the speakers from the stands, and then also decouple the stands from the floor.
3. Grab a mirror and a friend!
Find a small mirror and a buddy to check out each of your speaker’s initial points of reflection. While sitting in your improved listening position, have your helper move the mirror around on a sidewall until you see the reflection of one speaker’s tweeter. Mark this spot with tape, etc.. Do the same thing for the floor and ceiling for each speaker. The trick here is to place an absorptive element wherever a first reflection spot exists. Killing those nasty first reflections can really improve your listening experience. Now about that nose hair…
Five Ways To Improve Listening In Your Control Room
4. Don’t over tweak!
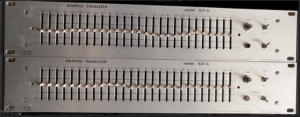
Back in the late 70’s when we weren’t busy tooling about in Chevy Vega’s and sprucing shag haircuts, equalizing control room monitors was all the rage. 31 band EQ’s graced every dusky wood paneled control room. URIE 813’s loomed and boomed overhead menacingly. Trouble was, all that EQ only created more difficulties than it solved.
The first problem was that the 813’s didn’t sound flat. The second problem was the gnarly control room acoustical issues made the 813’s not sound flat. Equalizing the rig actually compounded the woes. Now the 813’s were not only EQ’d out of linearity, but the control rooms acoustics still sucked.
You see, the EQ only works for a few feet. Once the sound projects past this short distance, crappy acoustics are back in play. You really need to treat your acoustical issues first. And while I know many of you love your little tweaks on the back of your cutesy powered monitors, don’t say I didn’t warn you about how they lie to you!
5. Diffuse the rear!
Prices have really come down on diffusion panels in recent years. Time was RPG and other home built 17th order quadratic-residue diffusers were the only real alternative to diffuse a control room’s back wall. Currently, there are lots of choices out there. Some diffusers work better than others but the important thing is to realize that adding a bit of diffusion to your listening area’s back wall will make your room easier to work in. Less ear fatigue and smoother overall sound are some of the benefits to enjoy.
Five Ways To Improve Listening In Your Control Room
In Conclusion
We mix music and other audio sources inversely to what our speaker monitors tell us. If the speakers give us loads of non linear bass info, we’ll tend to mix bass light. Then, our mixes sound thin out there in the so-called real world. If our monitors are shrill and bright, we then mix duller that we might realize. Using proper speaker placement in a acoustically linear and tamed room gives us the best shot at mixes that will actually translate well.
Mike Konopka